Freitag, 29. April 2016

Fishy or Birdy

Here's a picture of a little knitting experiment I started recently. It's a combination of modular knitting with a fringe of stacked stitches.

When I first posted pictures of this on my social media accounts people commented that it looked a bit like birds' wings. However, in my eyes it looks a bit too disheveled for a bird. It reminds me of something tentacular or maybe clinging seaweed - something from deep below the seas.

Anyway, the decision whether it looks "fishy" or "birdy" is only relevant for choosing an appropriate pattern name. So far, I haven't got a good idea, so I am grateful for suggestions.


Sonntag, 24. April 2016

Nice Little Yarnbomb


As seen on a lovely spring morning in Konstanz.

Montag, 18. April 2016

Geranium Knitted Slippers

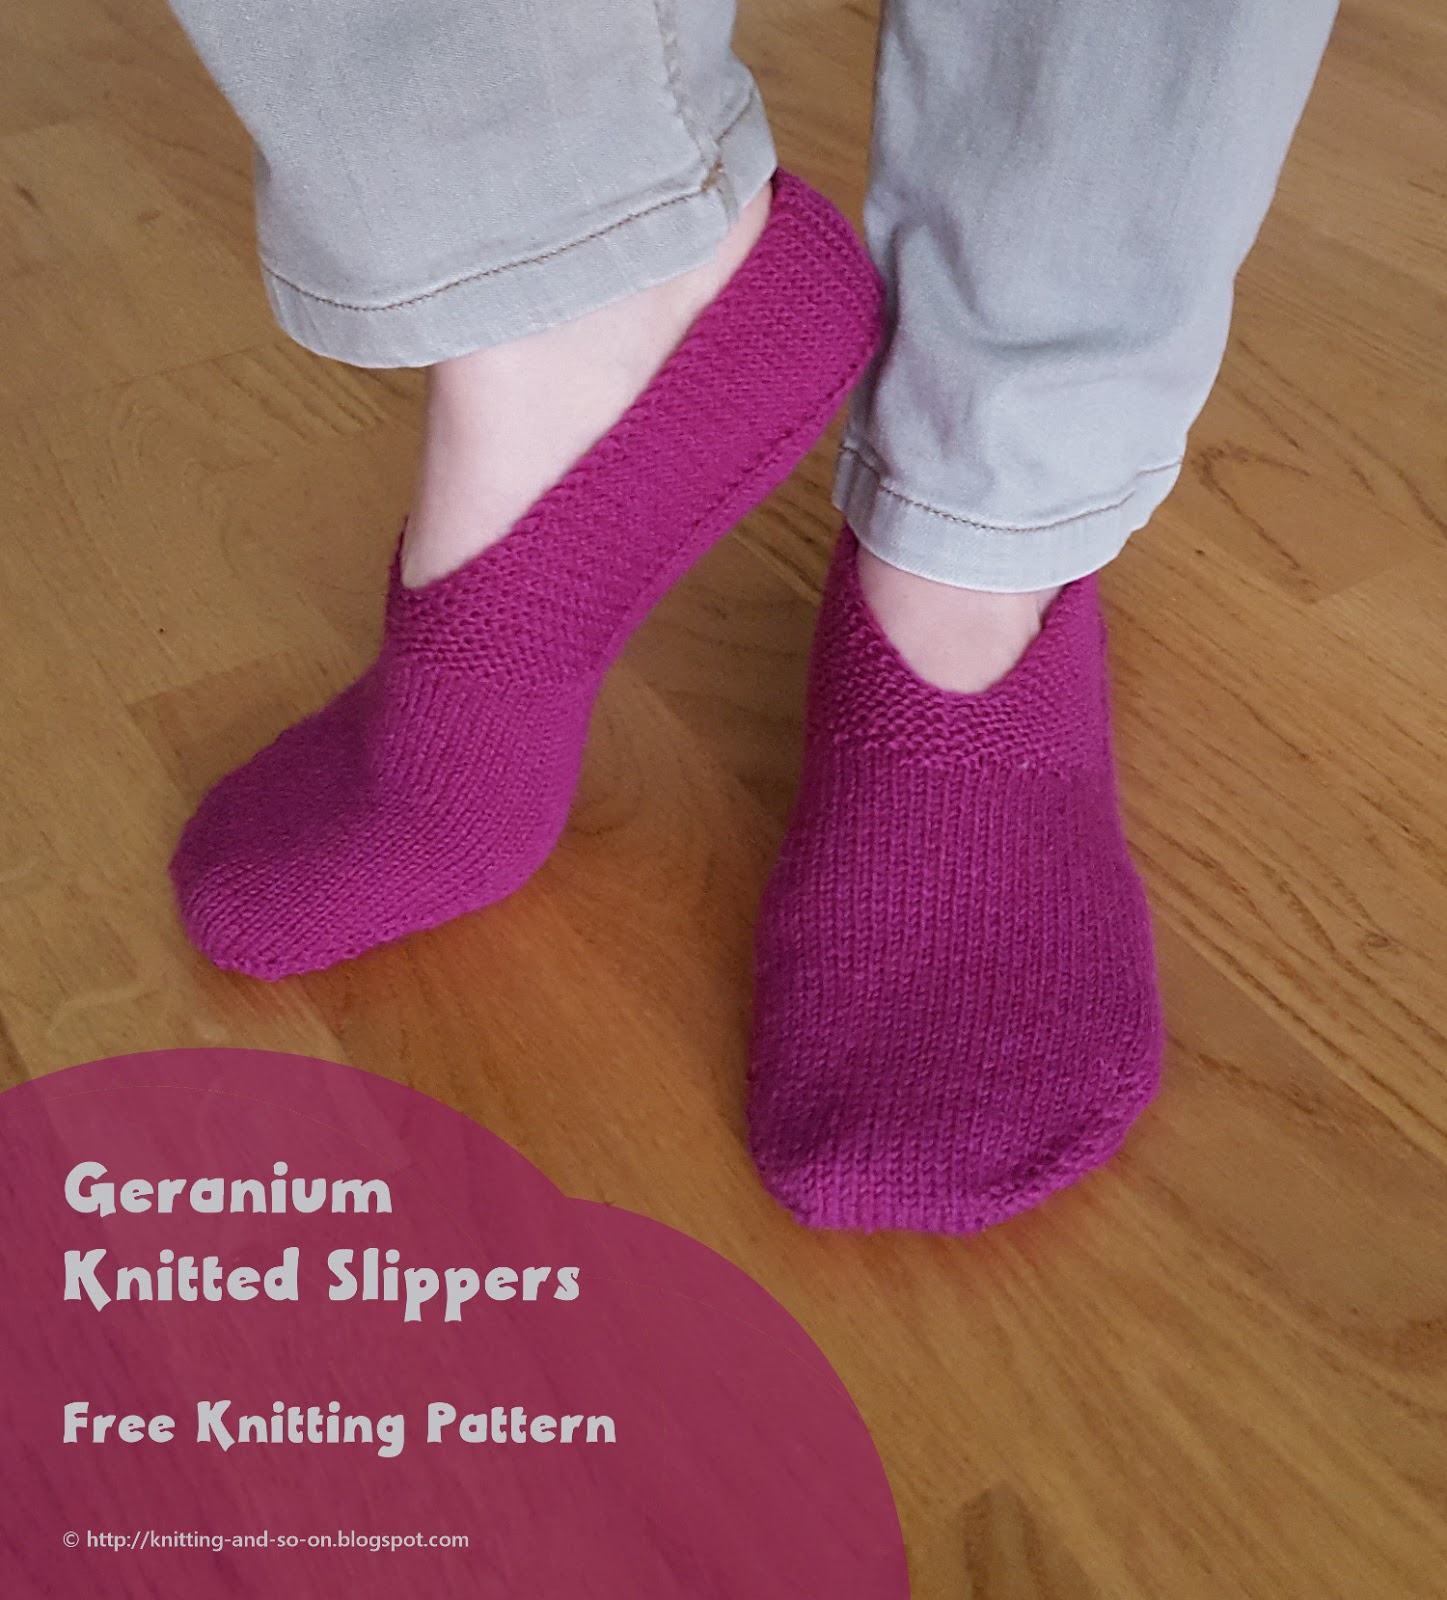
I am currently going through a "slipper phase" and I am experimenting a bit with the idea. I've not come to different constructions (yet?), but there is no harm in knitting something not so complicated once in a while.

So, here's a variation for the 
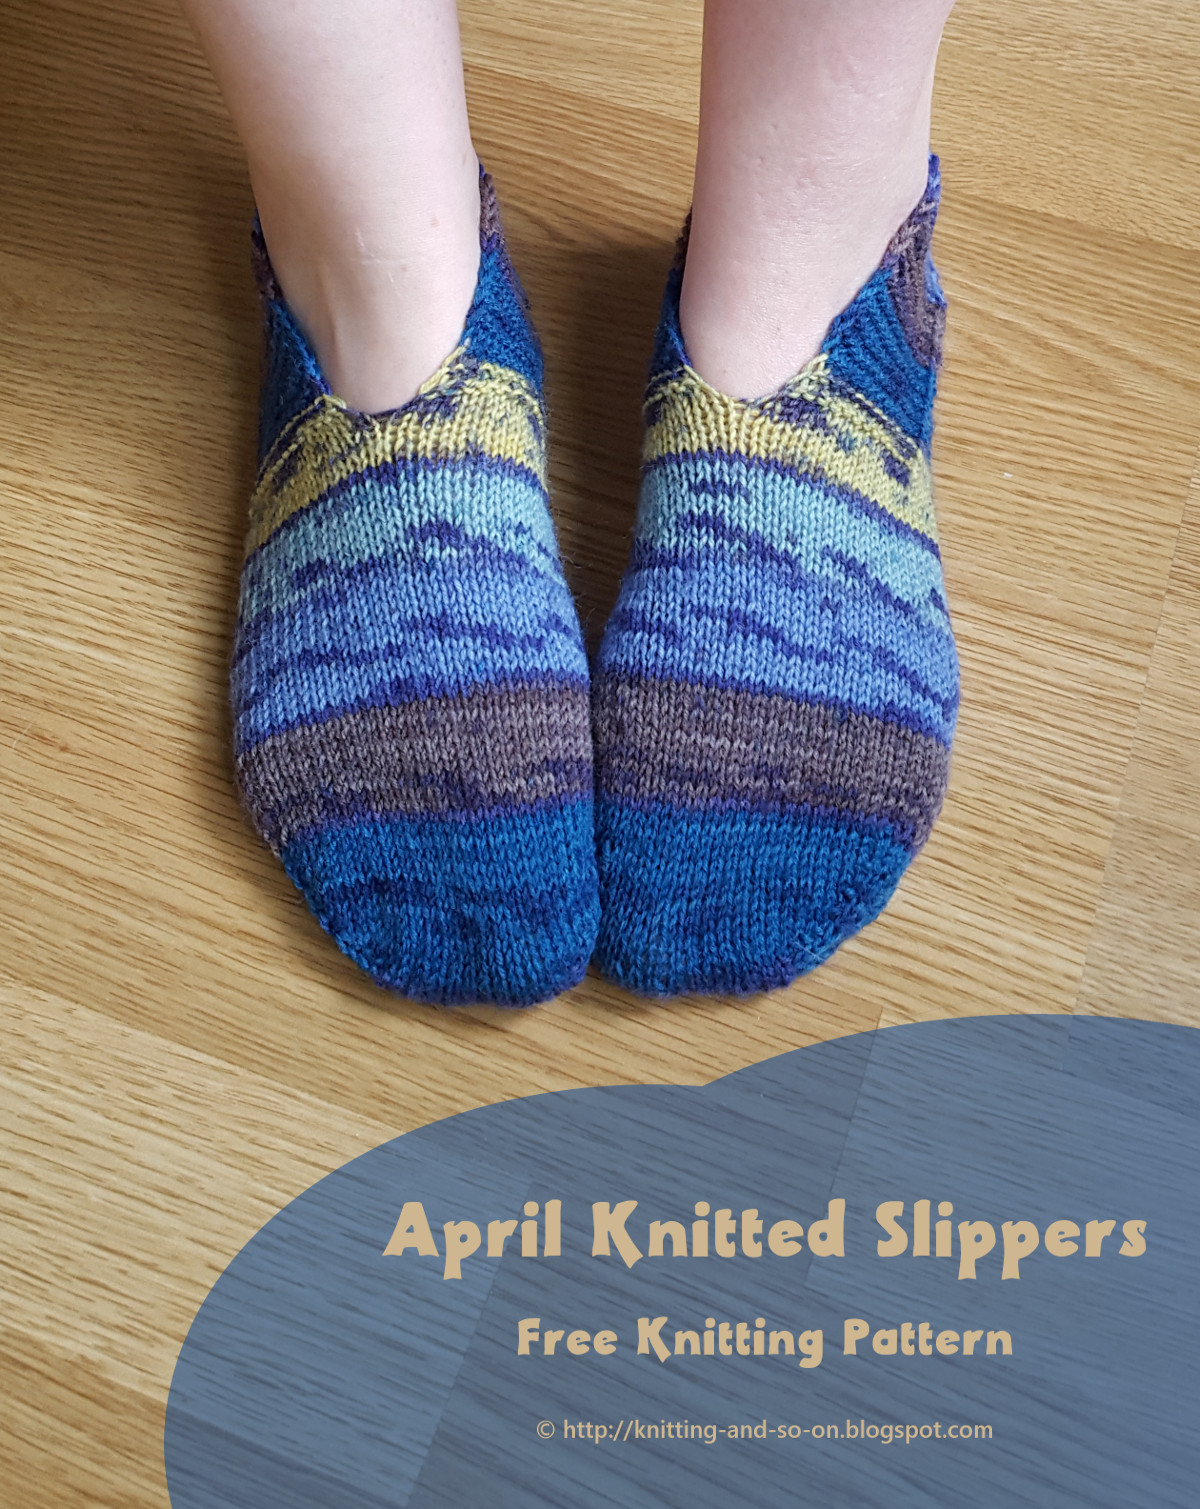
April Knitted Slippers I published a few weeks ago, a seamless, toe-up pattern. Actually, the only difference lies in a triangular garter stitch pattern on the top of the foot.


Creative Commons License
This work by Knitting and so on is licensed under a Creative Commons Attribution-NonCommercial-ShareAlike 4.0 International License.


Materials
  • about 40 to 50 grams of fingering weight yarn
  • 3mm knitting needles (dpns or circular)
  • three stitch markers
  • a tapestry needle for grafting and to weave in ends

Techniques


Instructions

Make a cardboard template of your feet. Draw a line that marks half the length of your feet ("half line") - see picture on the right. The heel line will be drawn once you've finished knitting your toe.

Part 1 (Toe, worked in the round):

Magic CO 12 stitches per needle (your piece should look like illustration photo 1)
Knit one round and place one marker after 12 sts and another marker at the end of the round.

To get a shaped toe you first do 4 rounds with 4 increases each (around the markers). Then you alternate 1 neutral round (no increases) with 1 increase round (increases around the markers) twice. Then alternate 2 neutral rounds and 1 increase round - twice. Then alternate 3 neutral rounds and 1 increase round - and repeat this (3 neutral, 1 increase round) until the slipper is wide enough to fit your feet.

In order to mirror the increases in the toe, with decreases in the heel, I find that it helps to keep notes. I usually keep a tally: one normal tick for a neutral row, one squiggly line for an increase row.

Spelled out this means:
Round 0 (knitted directly after Magic CO): k12, place marker, k12, place marker (these markers will be called side markers).
Round 1 (Increase round): kfb, k to 1 st before marker kfb, slip marker, kfb, k to last st, kfb
Rounds 2 - 4: Increase rounds (= round 1)
Round 5: k all
Round 6: Increase round
Round 7: Neutral round (=  round 5)
Round 8: Increase round
Round 9, 10: Neutral round
Round 11: Increase round
Round 12, 13: Neutral round
Round 14: Increase round
Round 15, 16, 17: Neutral round
Round 18: Increase round
Repeat Rounds 15-18 until the piece is wide enough to fit your foot.

After you've finished your toe - measure its length. Then draw a line on your template that's the same distance from the heel end. This line is called toe line on the picture above. Heel and toe will have the same length since the heel decreases will be exactly like the toe increases - backwards.

Depending on the yarn, I had 56 or 60 stitches in total on my needles.


Part 2 (worked in the round):

Count the number of stitches on your needles. Divide by 4 and remember this number. (For 56 stitches, this number was 14 - for 60 stitches in total, it was 15.)

When you knit the first round, knit the calculated number of stitches, place a marker here ("mid marker) and knit on. Leave the side markers in, they will be needed later.

Knit rounds until your piece is about 5 cm short of the half line.

Triangle Pattern
Then start the triangle pattern (see schematic) around the mid marker. All stitches that are not noted in the schematic are knit stitches.

Spelled out this means
Round 1: k to 2 sts bef mid marker, p2, k to end
Round 2: k to mid marker, p2, k to end
Round 3: k to 4 sts bef mid marker, p4, k to end
Round 4: k to mid marker, p4
Round 5: k to 6 sts before mid marker, p6, k to end
Round 6: k to mid marker, p6, k to end

I guess the general idea is clear, knit 2 more purl stitches to either side of the mid marker every second row.

Or put in general terms:
Round X (odd numbered round): k to X+1 sts before mid marker, p X sts, k to end
Round X+1 (even numbered round): k to mid marker, p X+1 sts, k to end

Go on until all stitches between the side markers have been purled at least once. End with an odd-numbered row.


Part 3 (worked in rows):

Row 0: Knit to mid marker and turn.
Row 1 (WS, inside): sl1, k to marker, p to marker, k to end of row marker and turn
Row 2 (RS, outside), sl1, k all (to end of row marker) and turn

Repeat rows 1 and 2 a total of 4 times

Row 9 (WS) = Row 1
Row 10 (RS), sl1, kfb, k to 2 sts before end, kfb, k1

Repeat rows 1 to 10 once more.

Repeat rows 1 and 2 until the piece is long enough to reach the heel line.

After a while you will see the end of row without the mid marker, so you can remove it.


Part 4a (Heel, worked in rows):

To get a shaped heel you have to decrease the part between the markers the same way that the increases in part 1 were done on one side of the toe.
This means that you will alternate between one decrease row and 3 normal rows (just as many times as you did for the toe), then twice alternate between one decrease row and 2 normal rows, then alternate twice one decrease row and one normal row, and then knit only decrease rows until there are only 12 stitches between your markers.

A normal row is knitted as follows:
Normal Row (RS): sl1, k all
Normal Row (WS): sl1, k to marker, slip marker, p to marker, slip marker, k to end.

And a decrease row is knitted as follows
Decrease row (RS): sl1, k to marker, slip marker, ssk, k to 2 bef marker, k2tog, slip marker, k to end
Decrease row (WS): sl1, k to marker, slip marker, p2tog, p to 2 bef marker, p2togtbl, slip marker, k to end

Assuming that you knitted 18 rows for the toe, the heel would be knitted as follows:
R1 (RS, decrease row): sl1, k to marker, slip marker, ssk, k to 2 bef marker, k2tog, slip marker, k to end
R2 (WS, normal row): sl1, k to marker, slip marker, p to marker, slip marker, k to end.
R3 (RS, normal row): sl1, k to end
R4 (WS, normal row): sl1, k to marker, slip marker, p to marker, slip marker, k to end.
R5 (RS, decrease row): sl1, k to marker, slip marker, ssk, k to 2 bef marker, k2tog, slip marker, k to end
R6 (WS, normal row): sl1, k to marker, slip marker, p to marker, slip marker, k to end.
R7 (RS, normal row): sl1, k to end
R8 (WS, decrease row):  sl1, k to marker, slip marker, p2tog, p to 2 bef marker, p2togtbl, slip marker, k to end
R9 (RS, normal row): sl1, k to end
R10 (WS, normal row): sl1, k to marker, slip marker, p to marker, slip marker, k to end.
R11 (RS, decrease row): sl1, k to marker, slip marker, ssk, k to 2 bef marker, k2tog, slip marker, k to end
R12 (WS, normal row): sl1, k to marker, slip marker, p to marker, slip marker, k to end.
R13 (RS, decrease row): sl1, k to marker, slip marker, ssk, k to 2 bef marker, k2tog, slip marker, k to end
R14 (WS, normal row): sl1, k to marker, slip marker, p to marker, slip marker, k to end.
R15 (RS, decrease row): sl1, k to marker, slip marker, ssk, k to 2 bef marker, k2tog, slip marker, k to end
R16 (WS. decrease row): sl1, k to marker, slip marker, p2tog, p to 2 bef marker, p2togtbl, slip marker, k to end
R17 (RS, decrease row): sl1, k to marker, slip marker, ssk, k to 2 bef marker, k2tog, slip marker, k to end
R18 (WS. decrease row): sl1, k to marker, slip marker, p2tog, p to 2 bef marker, p2togtbl, slip marker, k to end

Photos of working that kind of heel can be found in the April Knitted Slippers pattern on this blog.

Part 4b: Heel flap (worked in rows)

Now only one of the upper parts (in garter stitch) is worked, the stitches between the markers will be decreased row-by-row and the second garter stitch bit will not be worked until the kitchener stitch in the end.

Row 1: sl1, k to marker, ssk, turn, sl1, k to end
Repeat row 1 until there are only two stitches between the two markers

Then knit the following (last) row: sl1, k to 1 sts before marker, do a double central decrease

Now there should be the same number of stitches on both needles.
Graft in garter stitch.

Weave in ends.
Make two.


This pattern was featured at Purfylle Pinbellish Link Party No. 36 and on Awesome Life Friday #67. Thank you!
  Awesome Life Friday - I Was Featured!

Sonntag, 10. April 2016

Abstract Art? ... a Design Fail and a Trick

Recently I got a lovely present from my former team - a gift voucher for Magliamania a store with beautiful hand dyed yarns in Berne, Switzerland. They have a web shop, too, but - if ever you're in Berne - go there. The yarns and the colors are just beautiful. (No, I'm not sponsored by them nor affiliated in any way - I just like the yarn and the shop.)

After I bought 4 skeins of a silk merino blend (2 blue, 1 white and 1 dark brown) - this yarn feels wonderful to the touch - and I thought long about how to use them. I decided on a bold geometrical pattern - as shown on the photo below.


But I don't really like the whole effect enough to wear it. So, this attempt at a scarf will be frogged. And I'will do something better with this wonderful yarn - even though I don't know exactly what ... yet.

However, here's a tip if you are like me, i.e. try out a lot of stuff but also frog a lot, but you do not want to cut your yarn:
  • If you use yarn for one color block and want to use it again later in the project, Don't cut your yarn, but let it hang in a long loop between color blocks (see photo). Had my ideas worked out, I would've cut the yarn then and would've woven in the ends afterwards. Now that I frog it, I have the yarn still in one long piece.
Maybe this will help you sometime.

Mittwoch, 6. April 2016

April Knitted Slippers

A cozy pair of slippers to warm your feet on a lazy afternoon at home. They also make great gifts for a loved one. 

The slippers are knitted from the toe up and without a seam. The sole is all in stockinette stitch while the upper part switches to garter stitch.

These slippers look best when knitted with some self-striping sock yarn.


Creative Commons License
This work by Knitting and so on is licensed under a Creative Commons Attribution-NonCommercial-ShareAlike 4.0 International License.


This pattern is also listed at AllFreeKnitting.com.


Materials
  • about 40 to 50 grams of fingering weight yarn
  • 3mm knitting needles (dpns or circular)
  • three stitch markers
  • a tapestry needle for grafting and to weave in ends

Techniques


Instructions

Make a cardboard template of your feet. Draw a line that marks half the length of your feet ("half line") - see picture on the right. The heel line will be drawn once you've finished knitting your toe.

Part 1 (Toe, worked in the round):

Magic CO 12 stitches per needle (your piece should look like illustration photo 1)
Knit one round and place one marker after 12 sts and another marker at the end of the round.

To get a shaped toe you first do 4 rounds with 4 increases each (around the markers). Then you alternate 1 neutral round (no increases) with 1 increase round (increases around the markers) twice. Then alternate 2 neutral rounds and 1 increase round - twice. Then alternate 3 neutral rounds and 1 increase round - and repeat this (3 neutral, 1 increase round) until the slipper is wide enough to fit your feet.

In order to mirror the increases in the toe, with decreases in the heel, I find that it helps to keep notes. I usually keep a tally: one normal tick for a neutral row, one squiggly line for an increase row.

Spelled out this means:
Round 0 (knitted directly after Magic CO): k12, place marker, k12, place marker
Round 1 (Increase round): kfb, k to 1 st before marker kfb, slip marker, kfb, k to last st, kfb
Rounds 2 - 4: Increase rounds (= round 1)
Round 5: k all stitches
Round 6: Increase round
Round 7: Neutral round (= round 5)
Round 8: Increase round
Round 9, 10: Neutral round
Round 11: Increase round
Round 12, 13: Neutral round
Round 14: Increase round
Round 15, 16, 17: Neutral round
Round 18: Increase round
Repeat Rounds 15-18 until the piece is wide enough to fit your foot.

After you've finished your toe - measure its length. Then draw a line on your template that's the same distance from the heel end. This line is called toe line on the picture above. Heel and toe will have the same length since the heel decreases will be exactly like the toe increases - backwards.

Depending on the yarn, I had 56 or 60 stitches in total on my needles.


Part 2 (worked in the round):
Knit rounds until your piece is long enough to reach the half line.
Leave the markers in, they will be needed later.

Part 3 (worked in rows):
Count the number of stitches on your needles. Divide by 4 and remember this number. (For 56 stitches, this number was 14 - for 60 stitches in total, it was 15.)

Row 0: Knit the calculated number of stitches, place a marker here ("end of row marker) and turn.
Row 1 (WS, inside): sl1, k to marker, p to marker, k to end of row marker and turn
Row 2 (RS, outside), sl1, k all (to end of row marker) and turn

Repeat rows 1 and 2 a total of 4 times

Row 9 (WS) = Row 1
Row 10 (RS), sl1, kfb, k to 2 sts before end, kfb, k1

Repeat rows 1 to 10 once more.

Repeat rows 1 and 2 until the piece is long enough to reach the heel line.

After a while you will see the end of row without the marker, so you can remove it.

Illustration Photos

Part 4a (Heel, worked in rows):

To get a shaped heel you have to decrease the part between the markers the same way that the increases in part 1 were done on one side of the toe.
This means that you will alternate between one decrease row and 3 normal rows (just as many times as you did for the toe), then twice alternate between one decrease row and 2 normal rows, then alternate twice one decrease row and one normal row, and then knit only decrease rows until there are only 12 stitches between your markers.

A normal row is knitted as follows:
Normal Row (RS): sl1, k all
Normal Row (WS): sl1, k to marker, slip marker, p to marker, slip marker, k to end.

And a decrease row is knitted as follows
Decrease row (RS): sl1, k to marker, slip marker, ssk, k to 2 bef marker, k2tog, slip marker, k to end
Decrease row (WS): sl1, k to marker, slip marker, p2tog, p to 2 bef marker, p2togtbl, slip marker, k to end

Photo illustration 2 shows how the piece should look after a while.

Assuming that you knitted 18 rows for the toe, the heel would be knitted as follows:
R1 (RS, decrease row): sl1, k to marker, slip marker, ssk, k to 2 bef marker, k2tog, slip marker, k to end
R2 (WS, normal row): sl1, k to marker, slip marker, p to marker, slip marker, k to end.
R3 (RS, normal row): sl1, k to end
R4 (WS, normal row): sl1, k to marker, slip marker, p to marker, slip marker, k to end.
R5 (RS, decrease row): sl1, k to marker, slip marker, ssk, k to 2 bef marker, k2tog, slip marker, k to end
R6 (WS, normal row): sl1, k to marker, slip marker, p to marker, slip marker, k to end.
R7 (RS, normal row): sl1, k to end
R8 (WS, decrease row):  sl1, k to marker, slip marker, p2tog, p to 2 bef marker, p2togtbl, slip marker, k to end
R9 (RS, normal row): sl1, k to end
R10 (WS, normal row): sl1, k to marker, slip marker, p to marker, slip marker, k to end.
R11 (RS, decrease row): sl1, k to marker, slip marker, ssk, k to 2 bef marker, k2tog, slip marker, k to end
R12 (WS, normal row): sl1, k to marker, slip marker, p to marker, slip marker, k to end.
R13 (RS, decrease row): sl1, k to marker, slip marker, ssk, k to 2 bef marker, k2tog, slip marker, k to end
R14 (WS, normal row): sl1, k to marker, slip marker, p to marker, slip marker, k to end.
R15 (RS, decrease row): sl1, k to marker, slip marker, ssk, k to 2 bef marker, k2tog, slip marker, k to end
R16 (WS. decrease row): sl1, k to marker, slip marker, p2tog, p to 2 bef marker, p2togtbl, slip marker, k to end
R17 (RS, decrease row): sl1, k to marker, slip marker, ssk, k to 2 bef marker, k2tog, slip marker, k to end
R18 (WS. decrease row): sl1, k to marker, slip marker, p2tog, p to 2 bef marker, p2togtbl, slip marker, k to end


Part 4b: Heel flap (worked in rows)

Now only one of the upper parts (in garter stitch) is worked, the stitches between the markers will be decreased row-by-row and the second garter stitch bit will not be worked until the kitchener stitch in the end.

Row 1: sl1, k to marker, ssk, turn, sl1, k to end
(Illustration photo 3 shows how the piece looks just before an ssk)
Repeat row 1 until there are only two stitches between the two markers

Then knit the following (last) row: sl1, k to 1 sts before marker, do a double central decrease

Illustration photo 4 shows how the piece should look just before the last row.

Now there should be the same number of stitches on both needles.
Graft in garter stitch.

Weave in ends.
Make two.


This blogpost was featured on Oombawkadesign Crochet's 144th Link and Share Wednesday. and at the New Tuesday PINspiration Link Party. Thank you!

Oombawka Design Tuesday Pin-spiration Link Party